前言
默认的hexo主题功能还比较弱,比如没有分类, 标签. 我找到一个next主题来丰富我们的博客
安装
next官网地址
里面已经很详细的给我们说明了next的使用步骤1
2
3
4#首先转到hexo的themes目录
cd C:\Users\Administrator\AppData\Roaming\npm\themes
#使用git clone最新版的next主题到themes目录
git clone https://github.com/iissnan/hexo-theme-next themes/next
配置
一共有两个配置文件
hexo本身配置(A): C:\Users\Administrator\AppData\Roaming\npm_config.yml
next配置(B): C:\Users\Administrator\AppData\Roaming\npm\themes\next_config.yml
注意:yml的语法冒号后面一定要有空格
启用主题(使用别名代替配置文件)
1 | #配置文件A |
设置next的主题
1 | #配置文件B |
设置语言
1 | #配置文件A |
设置菜单
1 | #配置文件B |
设置侧栏
1 | #配置文件B |
设置头像
1 | #配置文件A |
设置作者名称, 站点描述等
1 | #配置文件A |
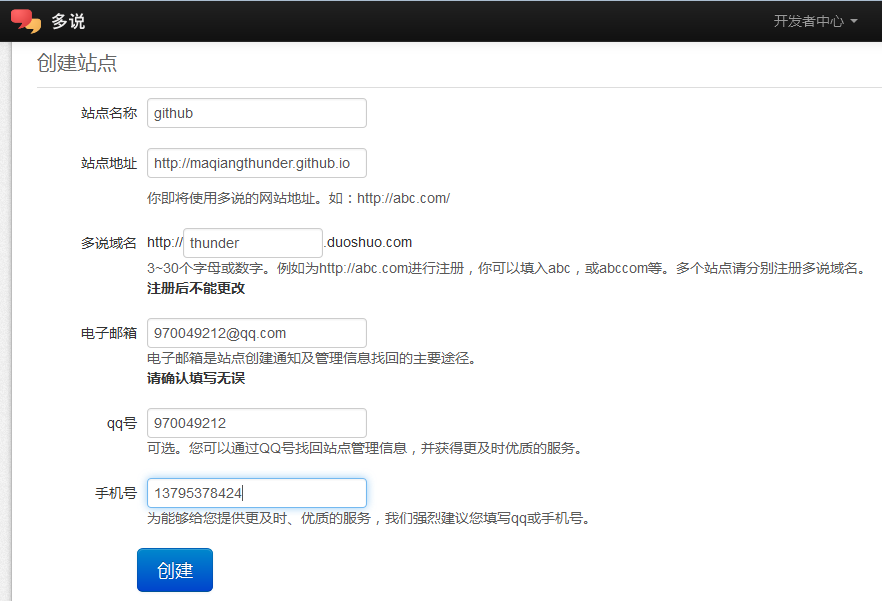
配置多说评论
- 首先去多说创建站点

- 在配置文件B中配置:
1
2#thunder是我们的域名前缀
duoshuo_shortname:thunder
其他
比如要添加统计,分享其他的请自己查看next官网文档